This weekend we decided to stay indoor and spent time to do easy kids activities. Being at school on weekdays, it is easy for Abdurrahman to get bored easily if we don’t do new activities with him. So this week we made him new binoculars and got him to create a beautiful tree.
These activities are so easy to made and you can easily use any materials that you have at home.
Binocular
Materials:
- Card stock (or you can use toilet paper roll if available)
- Staples
- Various stickers
- String or yarn
- Clear plastic (such as those used for book covers)
- Double tape
- Hole puncher
How to:
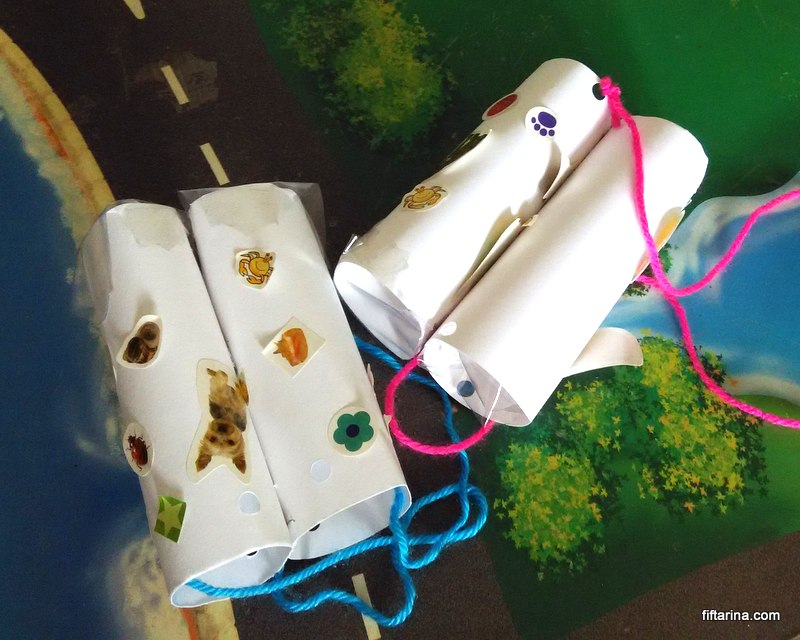
- (If using toilet paper roll, you can skip this step). Cut your card stock into rectangle of your desired size. The long side will determine how big is your binocular, while the short side will determine the length of binocular. In our project, I cut up one A4 card stock into 4 rectangles of equal size (that will make two mini binocular).
- Now use your hole puncher to create one hole in the the center of the long side of the rectangle. This hole will be used to tie your string / yarn
- (If using toilet paper roll, you can skip this step) Roll each rectangle into cylinder, staple 3 times, one on each end and one in the middle. (Alternatively, you can use double tape to do this).
- Now, combine the two cylinders together to make your binocular. Again, you can either use staple or double tape.
- Now, let your kids design their own binocular by sticking up various stickers in it. We have animals and shapes stickers, and my son was more than happy to do this part on his own.
- Put the lens on! Cut up your clear plastic into two small rectangles such that it can cover the one side of the binocular. Stick them up with double tape.
- Tie the string / yarn into the hole that we made previously with hole puncher. Adjust the length of the string according to your kids’ need.
There you go! Now you can take your kids to the park for butterfly or bird hunt.
PS: I made mistake in our binocular by punching two holes on each sides of the rectangle (my brain was not working properly because I tried to make this binocular while entertaining my baby too, so I ended up attaching the string using a double tape. Who cares, the most important thing is my son was extremely happy to get two new binoculars.
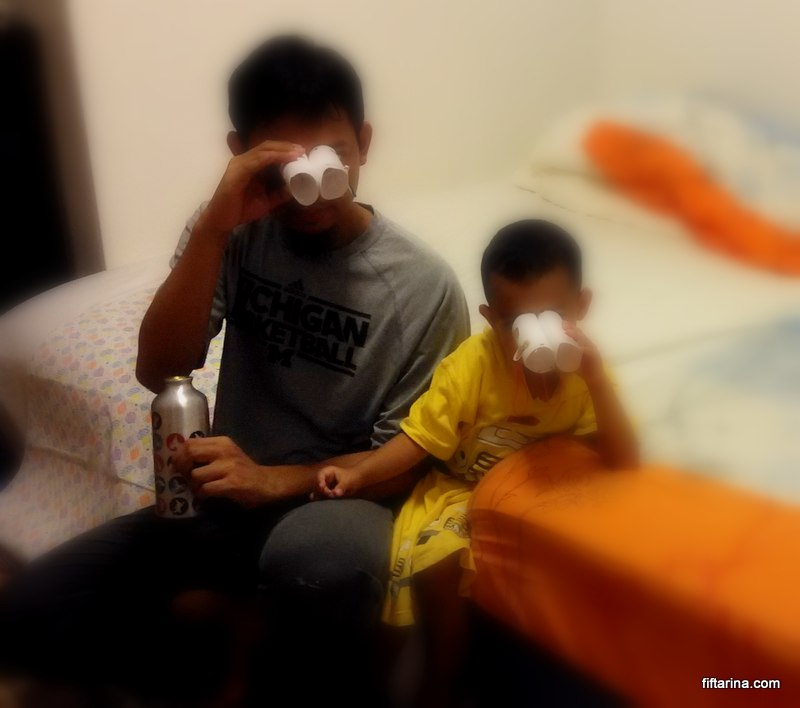
Just before bed time, my husband got a creative idea to get my son cleaning up his scattered toys using these binoculars. They pretended that they are looking for objects (in this case: toys) and asked my son to pick up the toys and put them in the correct place. Like this:
Daddy: “Look, can you see the blue ball?”
Son: ” Yess!”
Daddy: “OK, could you put it into the red basket, please”
Son: “OK…!” (running readily to pick up the ball and put into basket, then come back to daddy for more toys hunt).
As a result, happy kids (for having fun with binocular), happy mummy (for having the living room back to order), xixixi
A Paper Tree
This is another project that I whipped out in an instant because I tried to get my son busy while I feed my daughter. The idea comes from this easy fall tree activity from powerful mothering website. What you need is just a contact paper, colorful scrap paper, and a duck tape.
How to:
- Cut your contact paper (I used Duck Peel and Stick Laminate) into a big rectangle (A4 size or larger) to accommodate how big your tree is.
- Stick them up into wall of your choice (I sticked it into my fridge door) using duck tape with the clear plastic side towards the wall. After that, you can peel the covering paper to reveal the sticky side towards you.
- Now get your scrap paper. I got them in three different colors, for tree trunk and branches, leaves, and flowers.
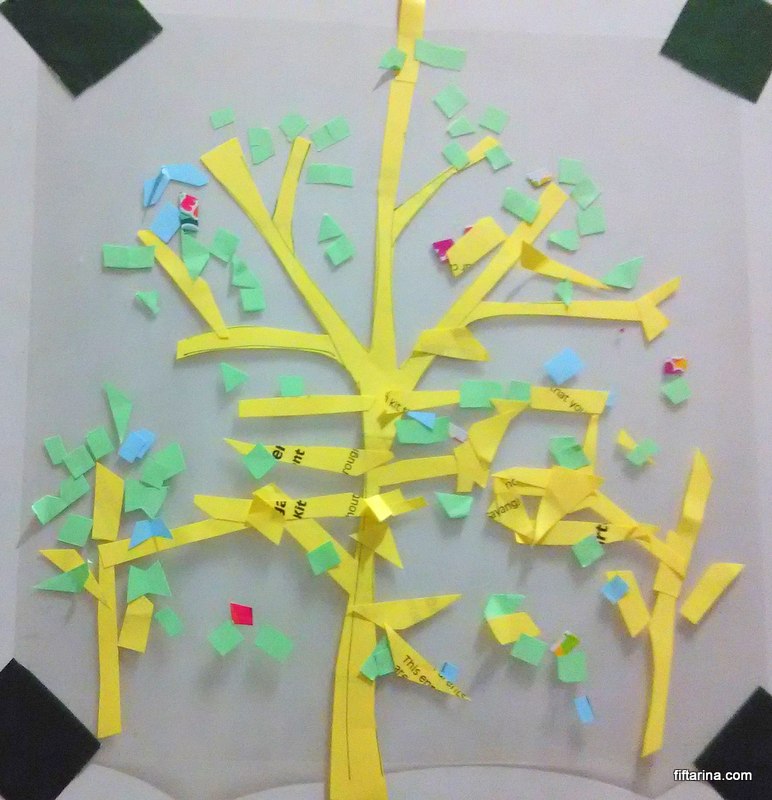
- Cut small and long rectangles in various sizes to make the tree trunk and branches. Alternatively, you can draw your own tree trunk and cut it up. Cut small rectangles / triangles to make the leaves and the flowers).
- Now stick your tree trunk onto the contact paper.
- Invite your children to continue the project by adding more tree branches, leaves and flowers.
- You can also experiment by having multiple trees, e.g. the tall one and the short ones (bonus: you teach them the concept of opposite: tall vs short)
My son was thrilled to create his own trees. He happily sticked more branches and leaves, as well as the flowers. When done, he proudly show his masterpiece to his daddy and grandma.
Does it remind you of trees on fall season? What a lovely masterpiece. Good job, kiddo!
What activities did you do with your kids this weekend?


Leave a Reply